-
Origami: Step by Step guides!
Origami Bird
Here are 10 easy steps to create an origami bird!
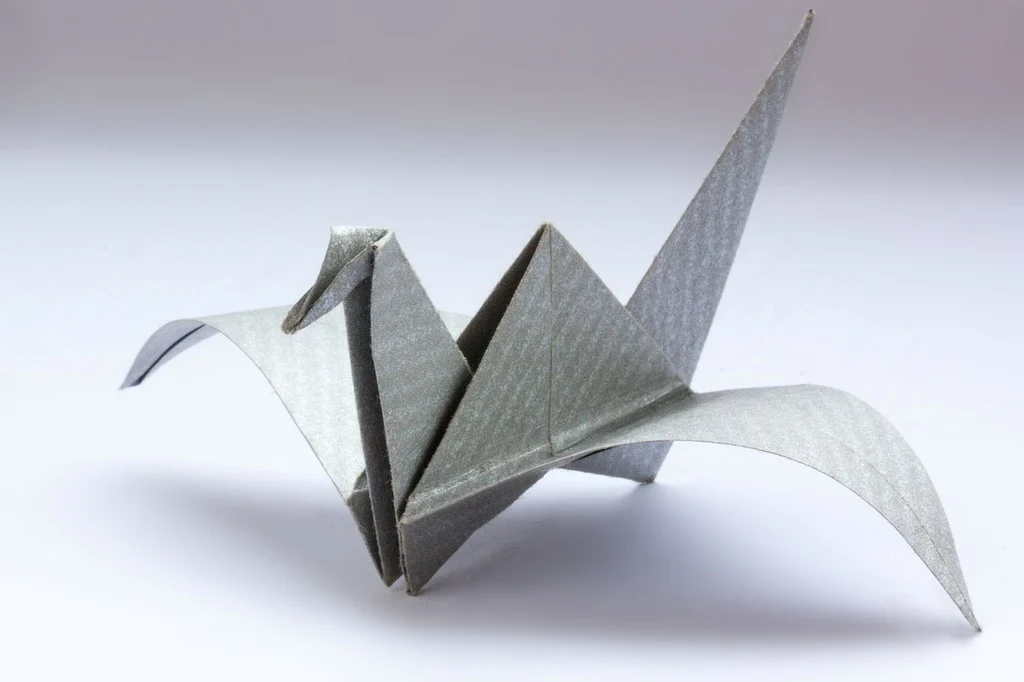
An example of an origami bird with textured paper, it is highly likely your finished product will not look like this. - Lay a perfectly square piece of paper infront of you. (This can be textured, like the image above, but is not required)
- Fold your square paper diagonally in half, in the shape of a triangle in a sense, make sure it is even and the corners meet.
- Fold your now triangle looking paper in half once more. Then, unfold, you should now have a crease in the middle.
- Now for the wings, we will make one for now, You will be using your recently made crease as a guide. The above part of this fold should ever so slightly be covering the top, be sure that as you do this step the wing should be getting bigger. The lower part of your wing shouldn’t be touching your crease in the middle.
- Now repeat the last step with the other part of the triangle for the second wing, make sure its as even as you can make it, but not exact.
- For the bird’s neck, fold the upper part of the triangle, make sure the tip is barely over the edge when fully folded. (but still is)
- Simply fold the tip of the triangle you just folded, but now the opposite way.
- Use the crease and fold in half, almost there!
- Pull the neck and beak up and voila!
- Adjust accordingly to your liking.
“oRIGAMI Bird” List made: Feb 11th, 2026